Shit-Stealing Gnomes Demo Walkthrough: Hub to Extract
A full loop of the free Steam demo — chill, steal, extract, rank up.
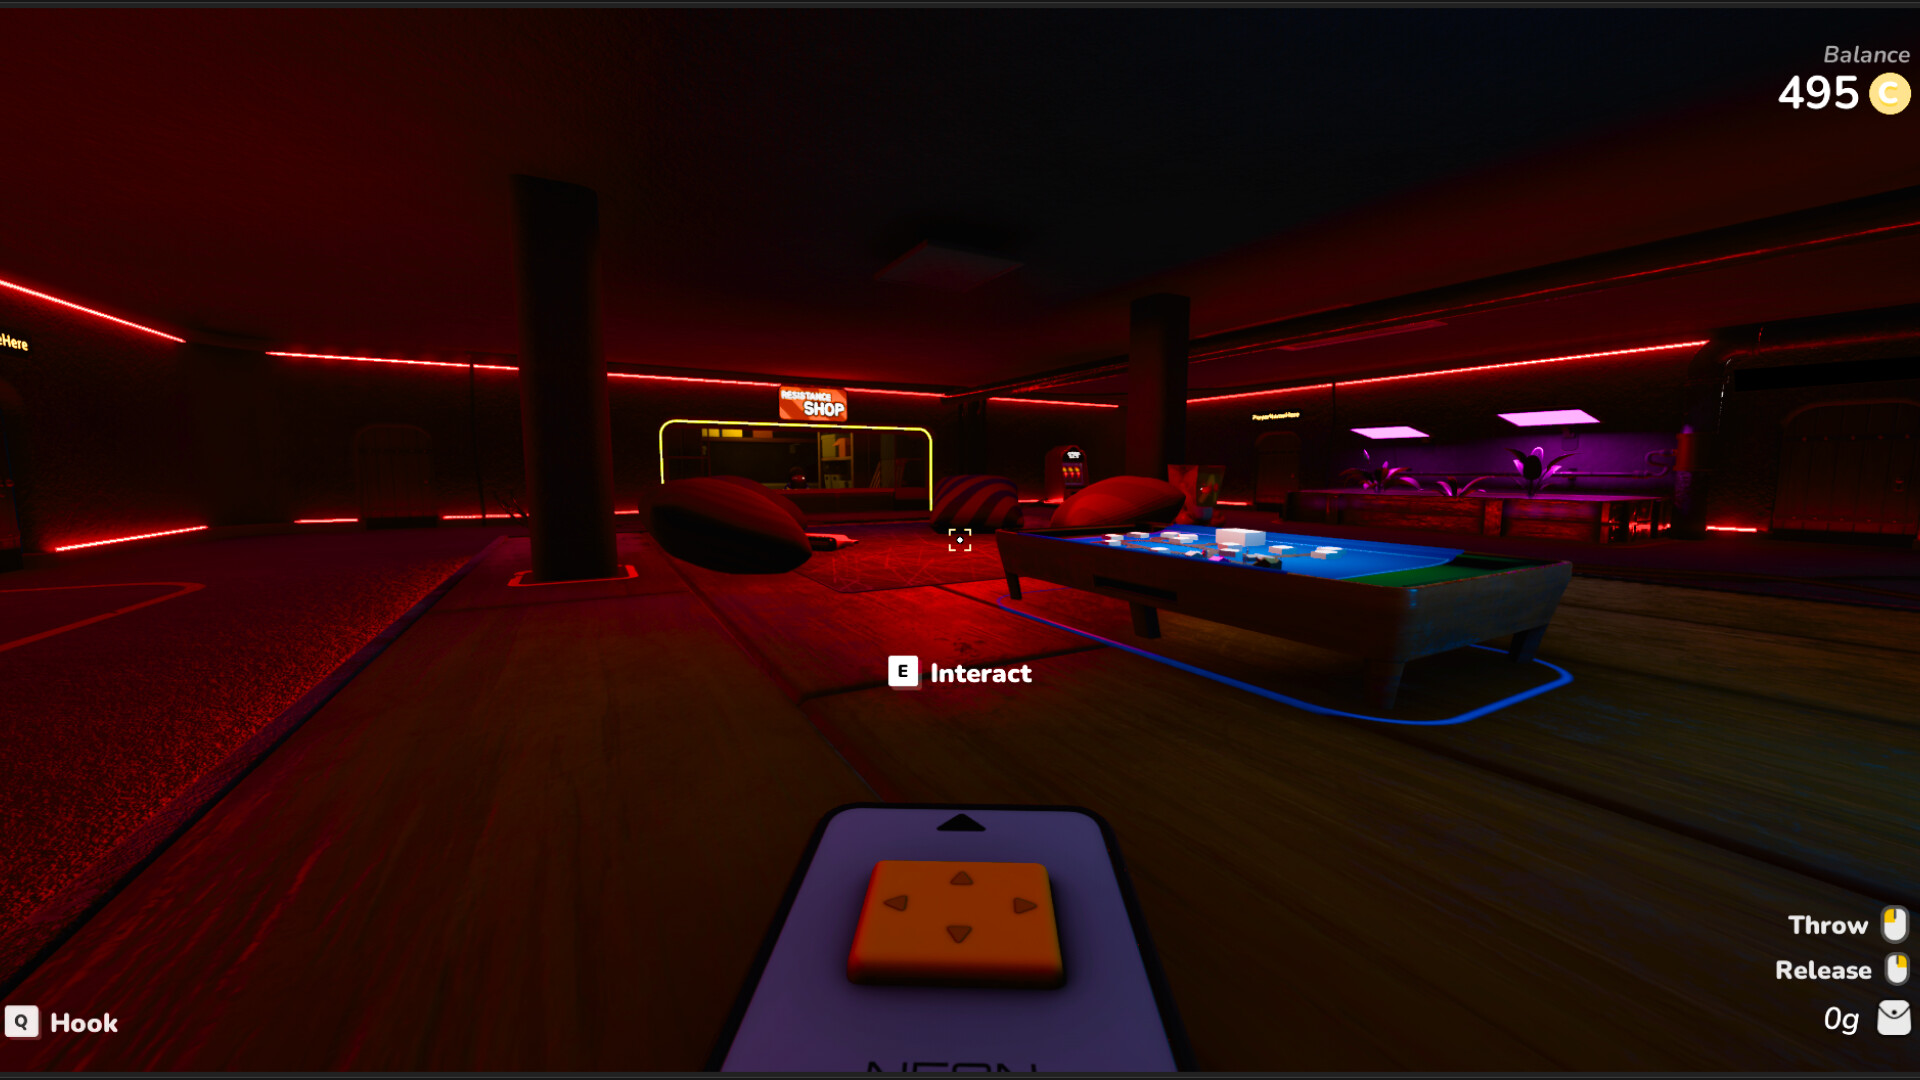
This walkthrough covers one complete Shit-Stealing Gnomes demo session: arrive in the Hub, pick a mission, clear the To-Steal list, grab bonus loot if the house stays quiet, extract to the car, then spend and unlock back at base. Use it after Getting Started when you want the loop written as a sequence instead of scattered tips.
The free demo (Steam app 5112550) already includes the Hub, ranks, cosmetics shop, tools like the drone and wirecutters, and maps such as Jeff’s House and Mad Veteran. Full release remains Q1 2027; demo habits still transfer.
Phase 0 — Before you press ready
- Confirm Windows 10 64-bit readiness on System Requirements.
- Decide solo or co-op. Co-op crews should assign scout / carrier / lookout using Team Roles.
- Skim the latest Demo Patch Notes so soft-fabric landings and item spawn changes do not surprise you.
- Remap or verify grab/carry binds in Controls.
Phase 1 — Hub downtime
The Hub is where the Resistance breathes between jobs.
What to do every visit
- Meet the squad and confirm who carries heavy loot.
- Check rank: promotions open maps and equipment.
- Open the cosmetics shop for hats and beards — stock refreshes after missions.
- Review car upgrades and tools. The car is not flavor text; on-site it is your safehouse.
- Note lighting scenarios in the Hub after the October update — they are atmosphere, not a new tutorial gate.
Do not linger forever. One clean circuit of shop → loadout → ready is enough.
Phase 2 — Mission select
Early on, prefer quieter houses over prestige maps. Jeff’s House and Mad Veteran are demo showpieces with more teeth: traps, weapons in human hands (not yours), and denser layouts. If your last three runs ended in a chase, drop difficulty expectations and relearn routes on a simpler job.
Official progression fantasy: simple, nearly abandoned houses first; later you become a Pillar of Resistance and take significant tasks only a coordinated team can finish. The demo already teases that curve.
Phase 3 — Infiltrate
Approach from cover. Windows and side paths often beat front doors. Move as if every dropped pan is a doorbell.
Infiltration checklist:
- Identify at least two routes back toward the car before you deep-loot.
- Spot soft landing pads (cushions, carpets, cloth) under balconies and shelves.
- Listen for hooman patrol audio before committing to the living room.
- If you brought a drone, keep it low and brief — it hauls heavy objects but draws eyes.
Stealth fundamentals are expanded in Stealth Tips.
Phase 4 — Clear the To-Steal list
Open the list and treat it like a shopping contract. Required items now spawn more generously after the demo patch (list items spawn twice as much), so hunt the contract before random clutter.
Order of operations
- Mark every list item’s room when you see it.
- Carry list items to a staging point near a quiet exit — not necessarily all the way to the car yet if the path is hot.
- Only after the list is satisfied do you authorize greed mode.
Abandoning the list for a shiny side object is how runs become comedy deaths. Comedy is fine; ranks prefer survival. Deeper priority logic sits in Complete Missions.
Phase 5 — Optional loot window
With the contract done and time left, loot for Resistance wealth:
- Prefer portable value over awkward furniture unless the drone is free.
- Pocket keychains for later sale or team perks.
- Skip contested rooms if a hooman just woke up.
- Watch for Code Crates and stickers — spawn points were greatly reduced (~10–15 per map), so do not waste the whole timer hunting every corner.
Value rankings: Loot Tier List.
Phase 6 — Extract to the car
The car is the mission hub and safehouse. Extract means the crew (or you) reaches it with the job done.
Extract habits that save runs:
- Call extract early when noise spikes; unfinished vanity loot is not worth a wipe.
- Stagger carriers so one lookout watches the stairwell.
- Use wirecutters or ladders only if they shorten a contested path — tools are not trophies.
- Dump loot into the car workflow your squad agreed on; do not play inventory Tetris in a doorway.
Reworked end-mission UI from the October patch makes the post-run screen clearer — read it. Note rank ticks and new unlocks before you alt-tab.
Phase 7 — Back in the Hub
After a successful mission:
- Confirm rank and newly unlocked maps or gear.
- Spend earnings on cosmetics if you want, but peek at tools first — see Upgrades Tier List.
- Shop stock updates after every mission; re-open hats and beards even if you browsed ten minutes ago.
- Talk route notes: which soft landing saved someone, which hallway is cursed.
- Queue the same map once for mastery or step up carefully.
Map notes inside the demo
Jeff’s House
Mission start points were nudged closer to the house in the October update. Use that shorter approach to set a quieter first foothold, then push inward. Do not treat the driveway as already safe.
Mad Veteran
Expect a meaner security fantasy: traps and human pushback. Bring roles, not four carriers. If your squad only has chaos energy, watch the embedded demo chaos video above, laugh, then assign a lookout anyway.
Solo walkthrough variant
Solo players should shrink greed windows. Clear the list, take one bonus haul, extract. Practice soft landings and window entries until they are muscle memory. Then invite friends and graduate to role play covered under Players.
Failure recovery
Wiped? Do not immediately rebuy cosmetics. Change one variable: quieter entry, earlier extract, or a different carrier. Re-read Stealth Tips if awareness kills dominate; re-read Complete Missions if you keep finishing houses without finishing lists.
Session goals cheat sheet
| Goal | Success look |
|---|---|
| First extract | List done, car reached, no wipe |
| Second session | Same map faster, one bonus keychain |
| Rank push | Back-to-back completes, shop + tool check |
| Co-op polish | Roles held for a full Jeff’s House run |
When you can finish this loop without panic, you are ready to optimize loot tiers and upgrade order instead of merely surviving.
Frequently Asked Questions
Quick answers to the most common questions.
What is the core demo loop?
Hub prep → mission select → clear To-Steal → optional loot → extract to the car → rank and shop. This page walks each phase.
When should I loot for myself?
Only after the To-Steal list is finished and the path to the car still looks quiet. See Complete Missions.
Why does the car matter so much?
On mission it is your safehouse and tool hub. Extract fails if you never make it back.
Jeff's House feels harder than the tutorial homes — is that normal?
Yes. It is a demo showcase map. Master quieter jobs first, then bring roles from Team Roles.
Did item spawns change?
List items spawn more often after the October update; Code Crate points were reduced. Details in Demo Patch Notes.